UNIVERSITY OF WISCONSIN River Falls
Documentation
Image Cycle: Add and Remove Images
Note: It is recommended that only 3-5 photos be used in the image cycle, however there are 10 "seats." Each photo should be exactly the same size as the others for best display.
- The photo carousel displays the images consecutively from the lowest seat to the highest seat. EMPTY seats are skipped.
- To allow for a new photo to be displayed first, all of the photos thereafter must be deleted from their current seat and added to the next highest seat.
- A temporary solution is to place the images in the highest seats first. Add a new image to the next lowest empty seat and the images thereafter will not need to be moved.
How to add an image
1. Upload all of the photos you wish to add.
2. Add the image cycle element to the page or follow the next step if the element is already available.
3. Choose the Data Icon (or New Data if the element is newly added to the page). Click a numbered tab to add a photo.
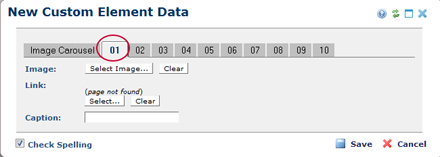
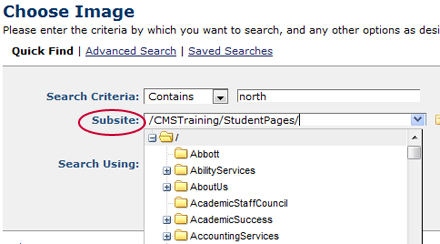
4. Select the subsite where the image can be found.
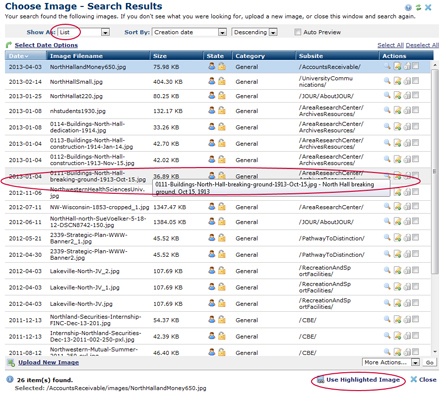
5. Select the image.
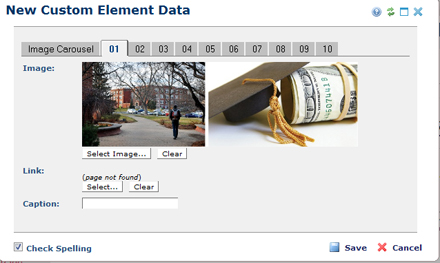
6. The image should appear. If it does not, review Image Cycle: Images do not appear.
7. Repeat the process for the next tab, and any other tabs up to 5 photos.
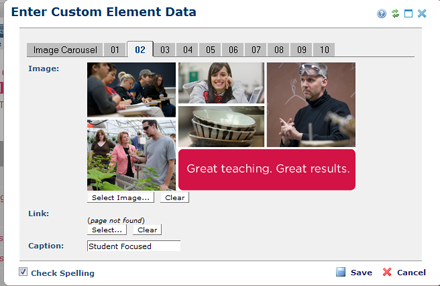
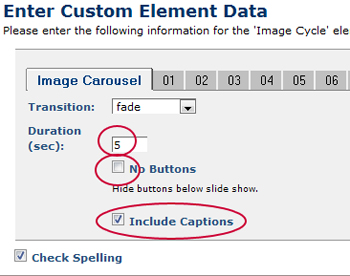
8. Choose options for display time, buttons, and captions. (Please do not use captions unless you are permitted by the university communications office)
9. Submit the element to the page.
Remove an Image
1. Select the "seat" where the image resides.
2. Delete the image, the link and the caption data using the functions in the form.


