UNIVERSITY OF WISCONSIN River Falls
Documentation
Schedule An Element
You can create a scheduled element that only will appear at a specified time.
You cannot schedule a Text Block element that has already been created, but must start by inserting a new element and choosing Schedule/Personalize Element. If you have already created a Text Block, copy the contents to use when you create a new Text Block within the Schedule Element.
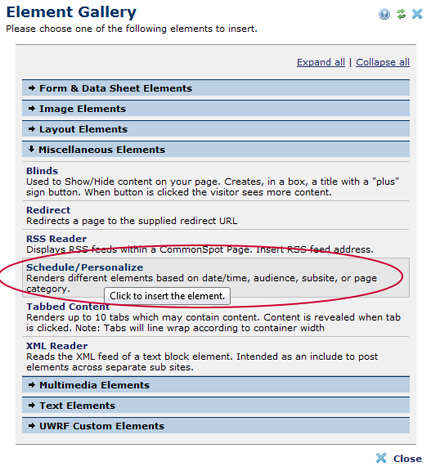
After you've chosen the element, click the gear.
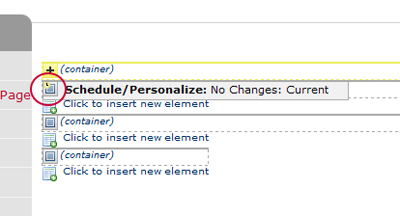
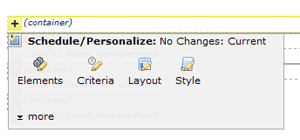
Click Elements to show the following, then click Add New Element:
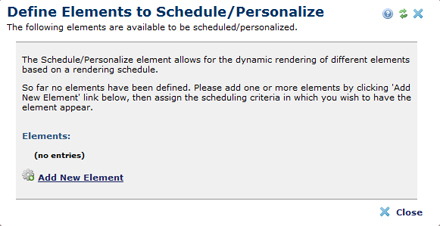
You will see a list of all the elements from the Element Gallery to which you have rights. You will have to scroll to see all of them.
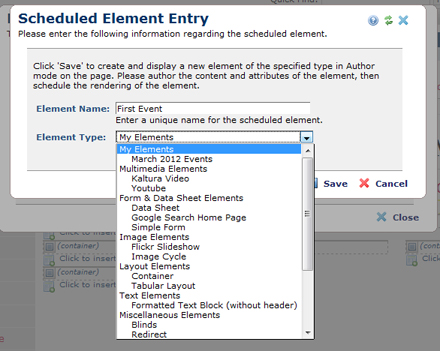
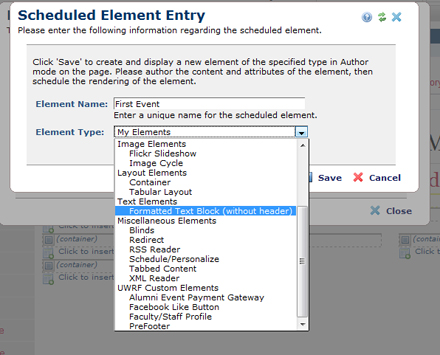
Choose the Formatted Text Block (without header) from the list.
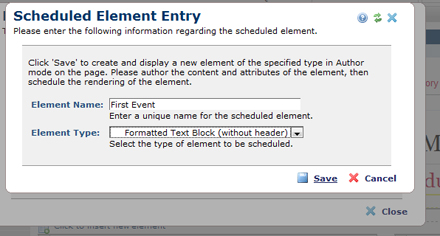
Enter a Name for the Element.
(You can Change the Element Name or Delete the Element by clicking the pencil icon.)
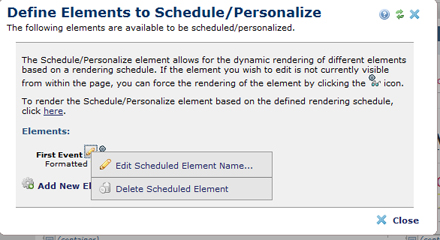
Save and then Close the Define Elements screen.
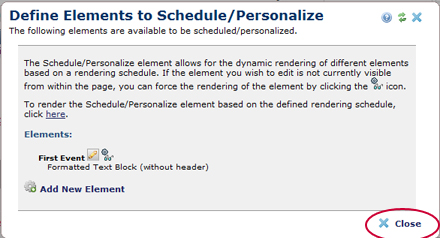
Click to define the Formatted Text Block - add your text/information.

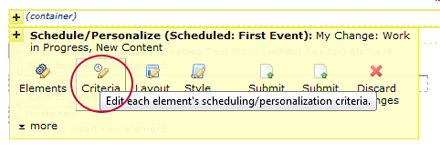
To schedule the element, click Criteria.
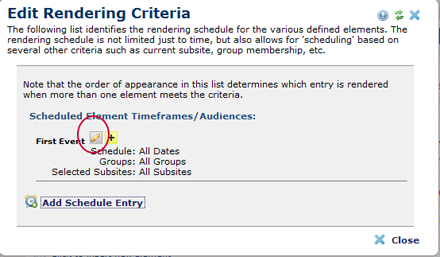
Click the Pencil Icon to edit the named element.
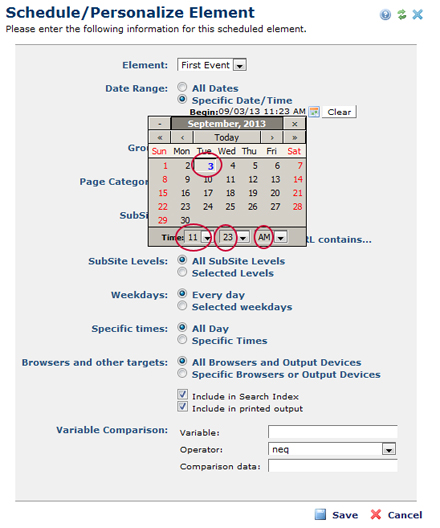
Click the Specific Date/Time radio button.
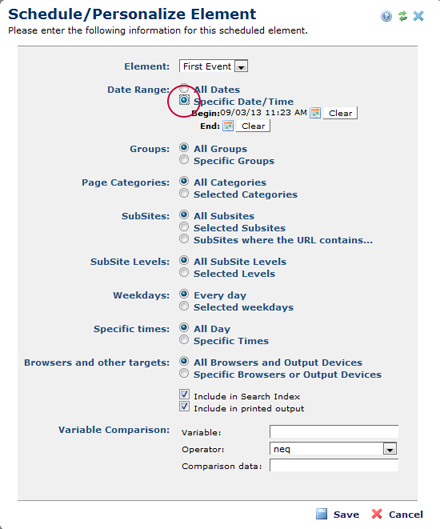
Select a begin date and time.
Select the end date and time and click Save.
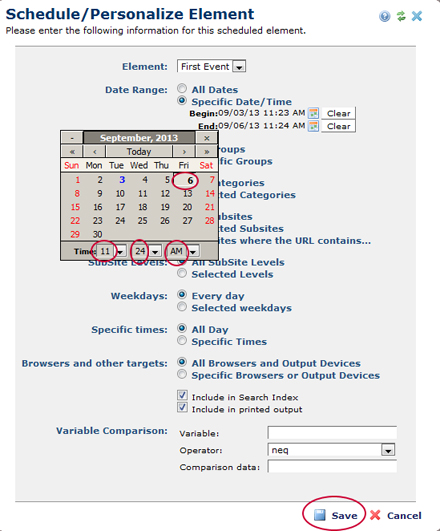
The element will display beginning on the date and time you specified through the end date and time selected.


