UNIVERSITY OF WISCONSIN River Falls
Documentation
Images/Photos
Best Practice: Two Separate Steps
Important: UWRF web team staff believes the best way to add an image(s) to a page is to conduct two separate steps:
- Upload the image(s) first
- Select image from server and place image in textblock
Step 1. Upload the image(s) to the CMS
- New > Image
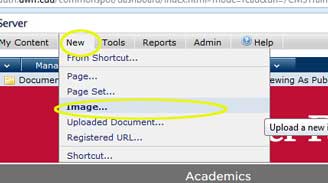
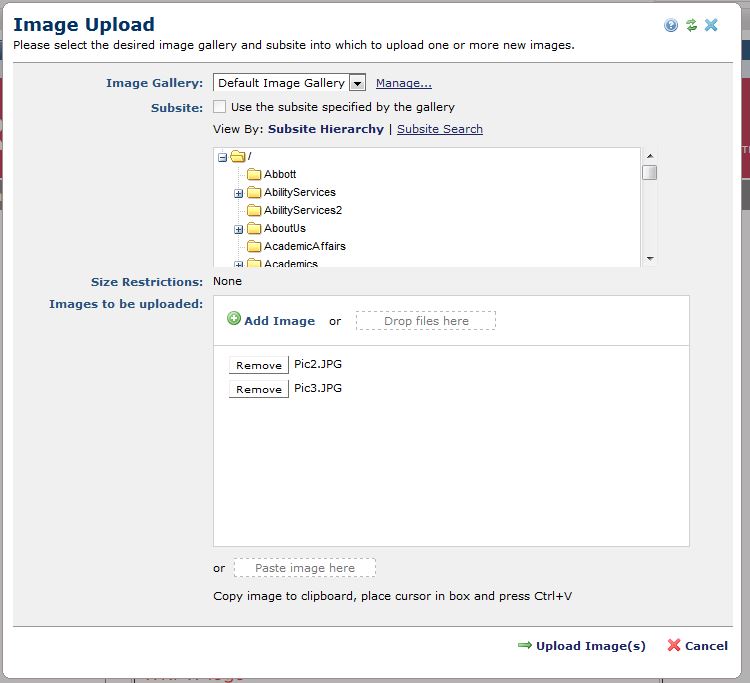
- Choose the "Default Image Gallery" at the top of the new screen.
- Ensure that the check box option titled "Use the subsite specified by the gallery" is UNCHECKED.
- Select the subsite you want the image to be stored (highlight in blue).
- Then upload your images using "add images" You can add multiple images here.
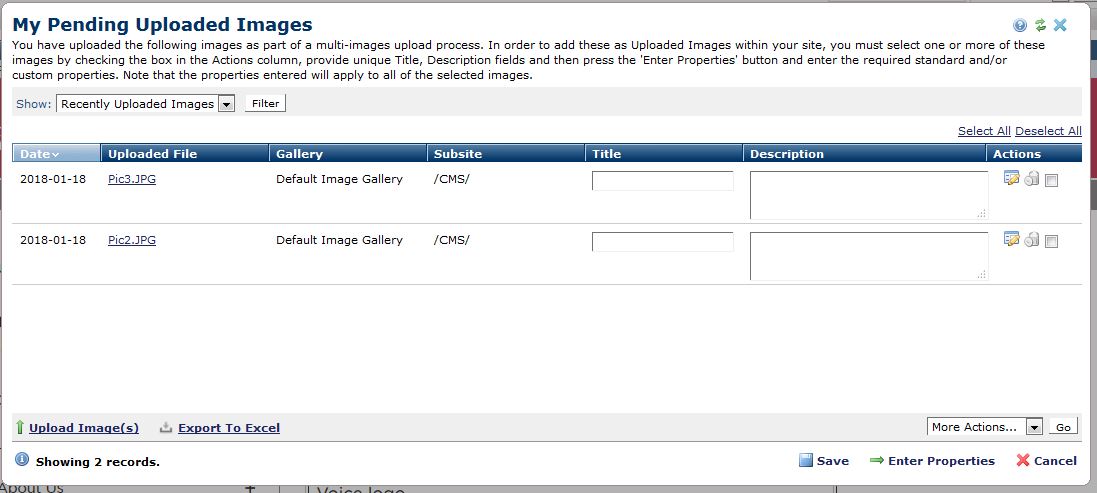
- Fill in the title and description for all images.
- Descriptions are required for each to complete upload.
- Check all of the action boxes. (or click "Select all")
- Click "enter properties"
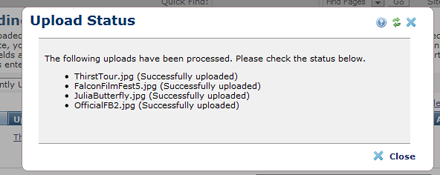
- When the Upload Status appears, close it.
- Save
- Select cancel to clear the pop up window
Step 2. Insert the Image

You may choose an image that has already been uploaded. Images are included in a Public Gallery that can be searched - either by Subsites or over the entire UWRF site.
About Image Titles and Alternate Tags
When you have an image on your desktop that you are going to upload, make sure you use a title that is descriptive, not just the file number. Images are available to all our CMS authors, and a descriptive title helps in searching. The title can also be used as the Alternate Text Tag which should be descriptive enough to provide a mental picture for people using the screen reader setting on the computer. If your title is not descriptive (making it easier to search), you should still make the Alternate Text a full description.
Image Adjustments
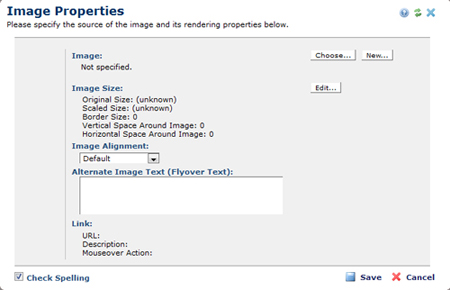
Once your image is in your text block, you can Edit Your Image (also see information on Aligning your Image).
Linking an image is also done in the Image Properties screen.
If you have a new version (like an updated photo ID), use the Upload New Image Version.
To display multiple images in a cycle (slide show), see Image Cycle.
Image Size
Images should be the same size (width) as the space you are filling and no wider.
Open images in a photo editor to resize them if necessary. Large photos that are resized (dimensions changed) inside CommonSpot still retain the original size (in KB/MB) and may take a long time to load.
Photos used in the Faculty and Staff profile pages must be 200px wide by 300px high. If not, the person may appear squished since the photo is forced to that size.


