UNIVERSITY OF WISCONSIN River Falls
Documentation
Adding and Using Textblocks
Adding the Formatted Textblock Element
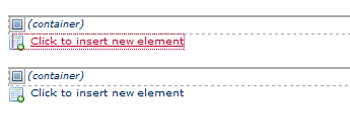
Inside and positioned under the container is a link to “Click to insert new element.” The list of possible elements will be revealed.
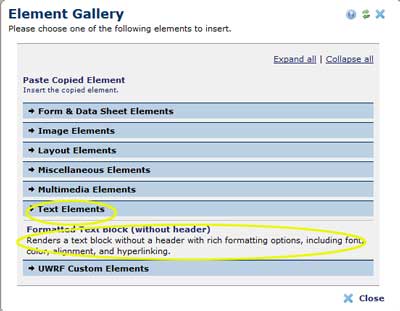
Choose "Formatted Textblock (without header)" under the Text Elements options in the Element Gallery.
After you have chosen your element click "Next" to establish the element in the container.

Using the Textblock
The Formatted Text Block is similar to other Rich Text Editors. Use the icons to apply the attribute you wish to display.
Headers
The format pull down provides access to the text formatting options including heading and paragraph text. Refrain from using Heading 1 on the page. This is already automatically applied to the page heading.
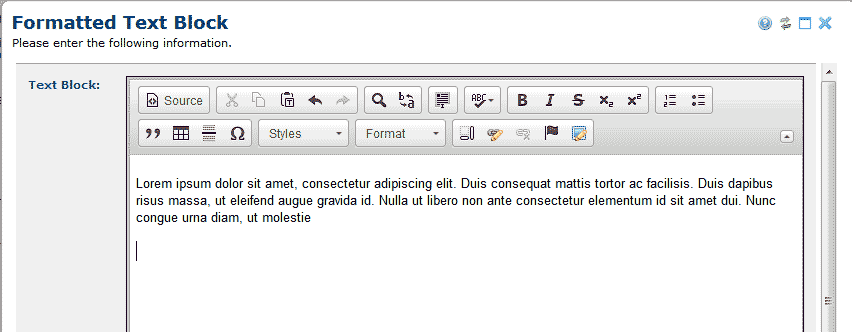
Page sections should use Heading 3.
Paragraphs are formatted by selecting an option called "normal."
Bullet Points
The best practice for creating bullet points is to create your list of items all in one horizontal line, utilizing spaces and capitalization, as shown in the example below:
Red Orange Yellow Green Blue Purple
Place your cursor in front of the first item and select the bulleted list button. The first item on the list will have a bullet in front of it.
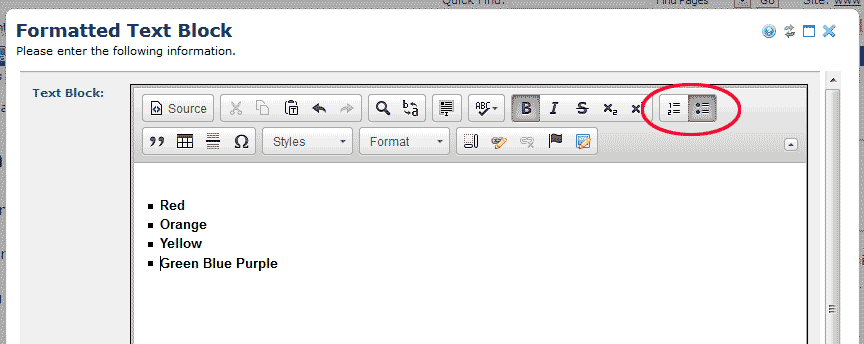
Next place your cursor in front of the next desired bulleted item and hit the enter key.
Repeat for the rest of the items on the list.
To escape the list place the cursor after the last character in the last line of the list hit the enter key twice.
Copying and Pasting into a text block
- Copy the content from the source document
- Choose the "Paste Text" icon
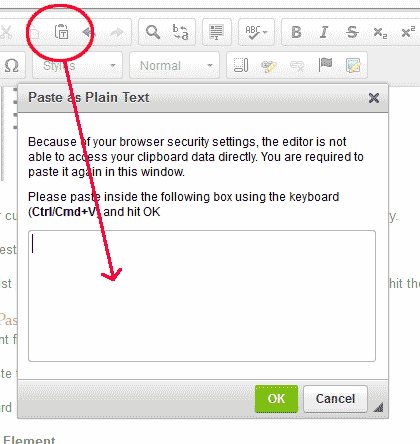
- Use the keyboard shortcut CTL or CMD + V to paste the content in the dialouge box field
- choose OK and Save
Related: Copy Element .
Save and Submit
When you are done editing your text block, click "Save."
You may notice the gears are yellow indicating changes have been made but not submitted.
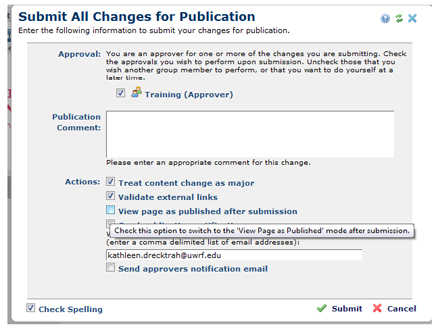
Submit your changes and view the page as published.
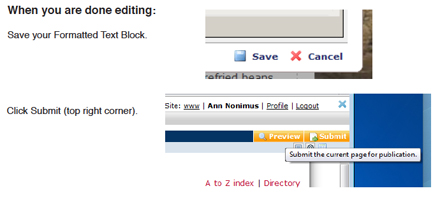
Always check the "View page as published after submission" to close the page. Leaving it open locks other authors out and may cause unintended appearance of elements in other open subsites/pages.
